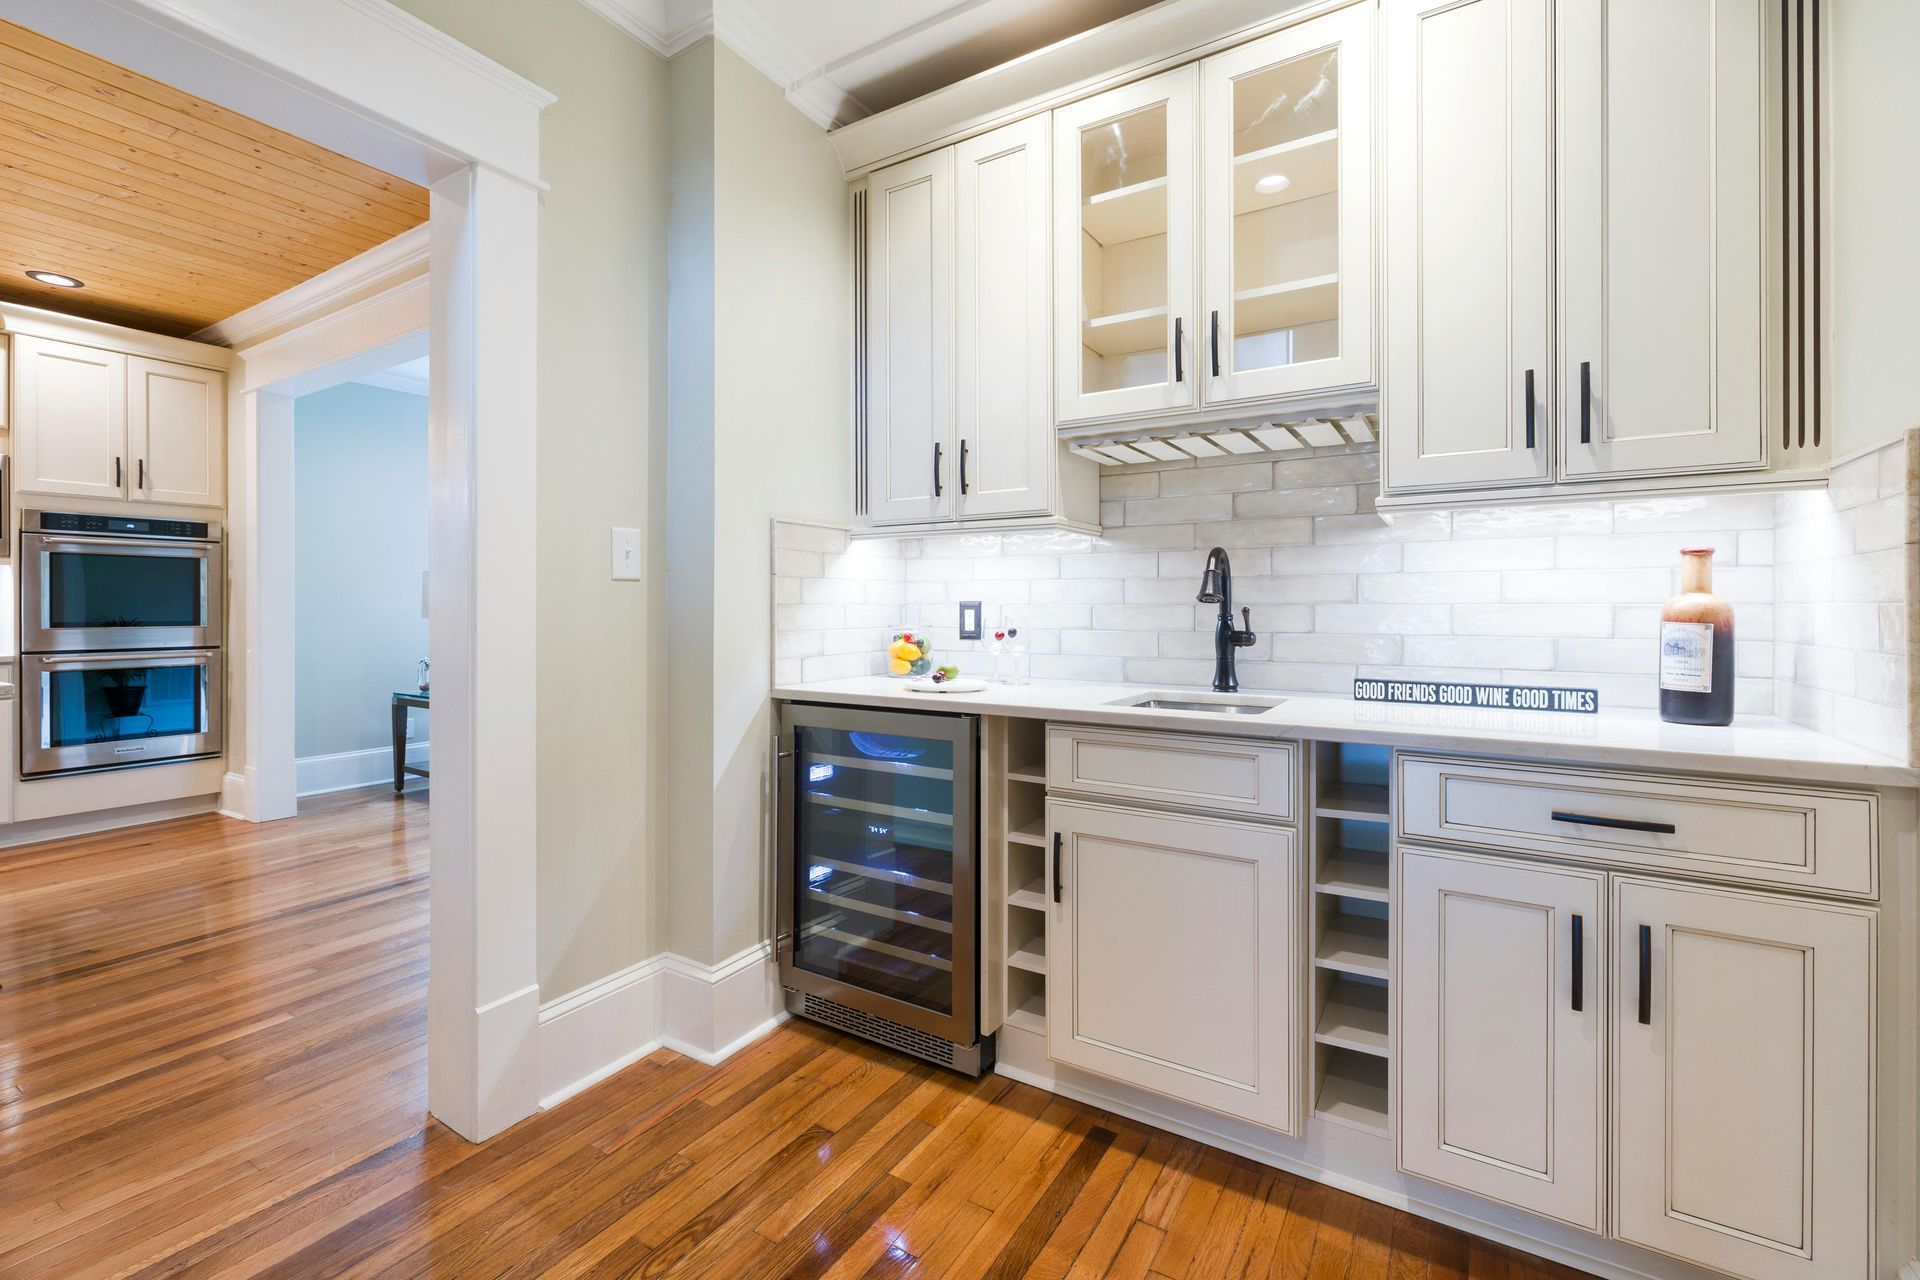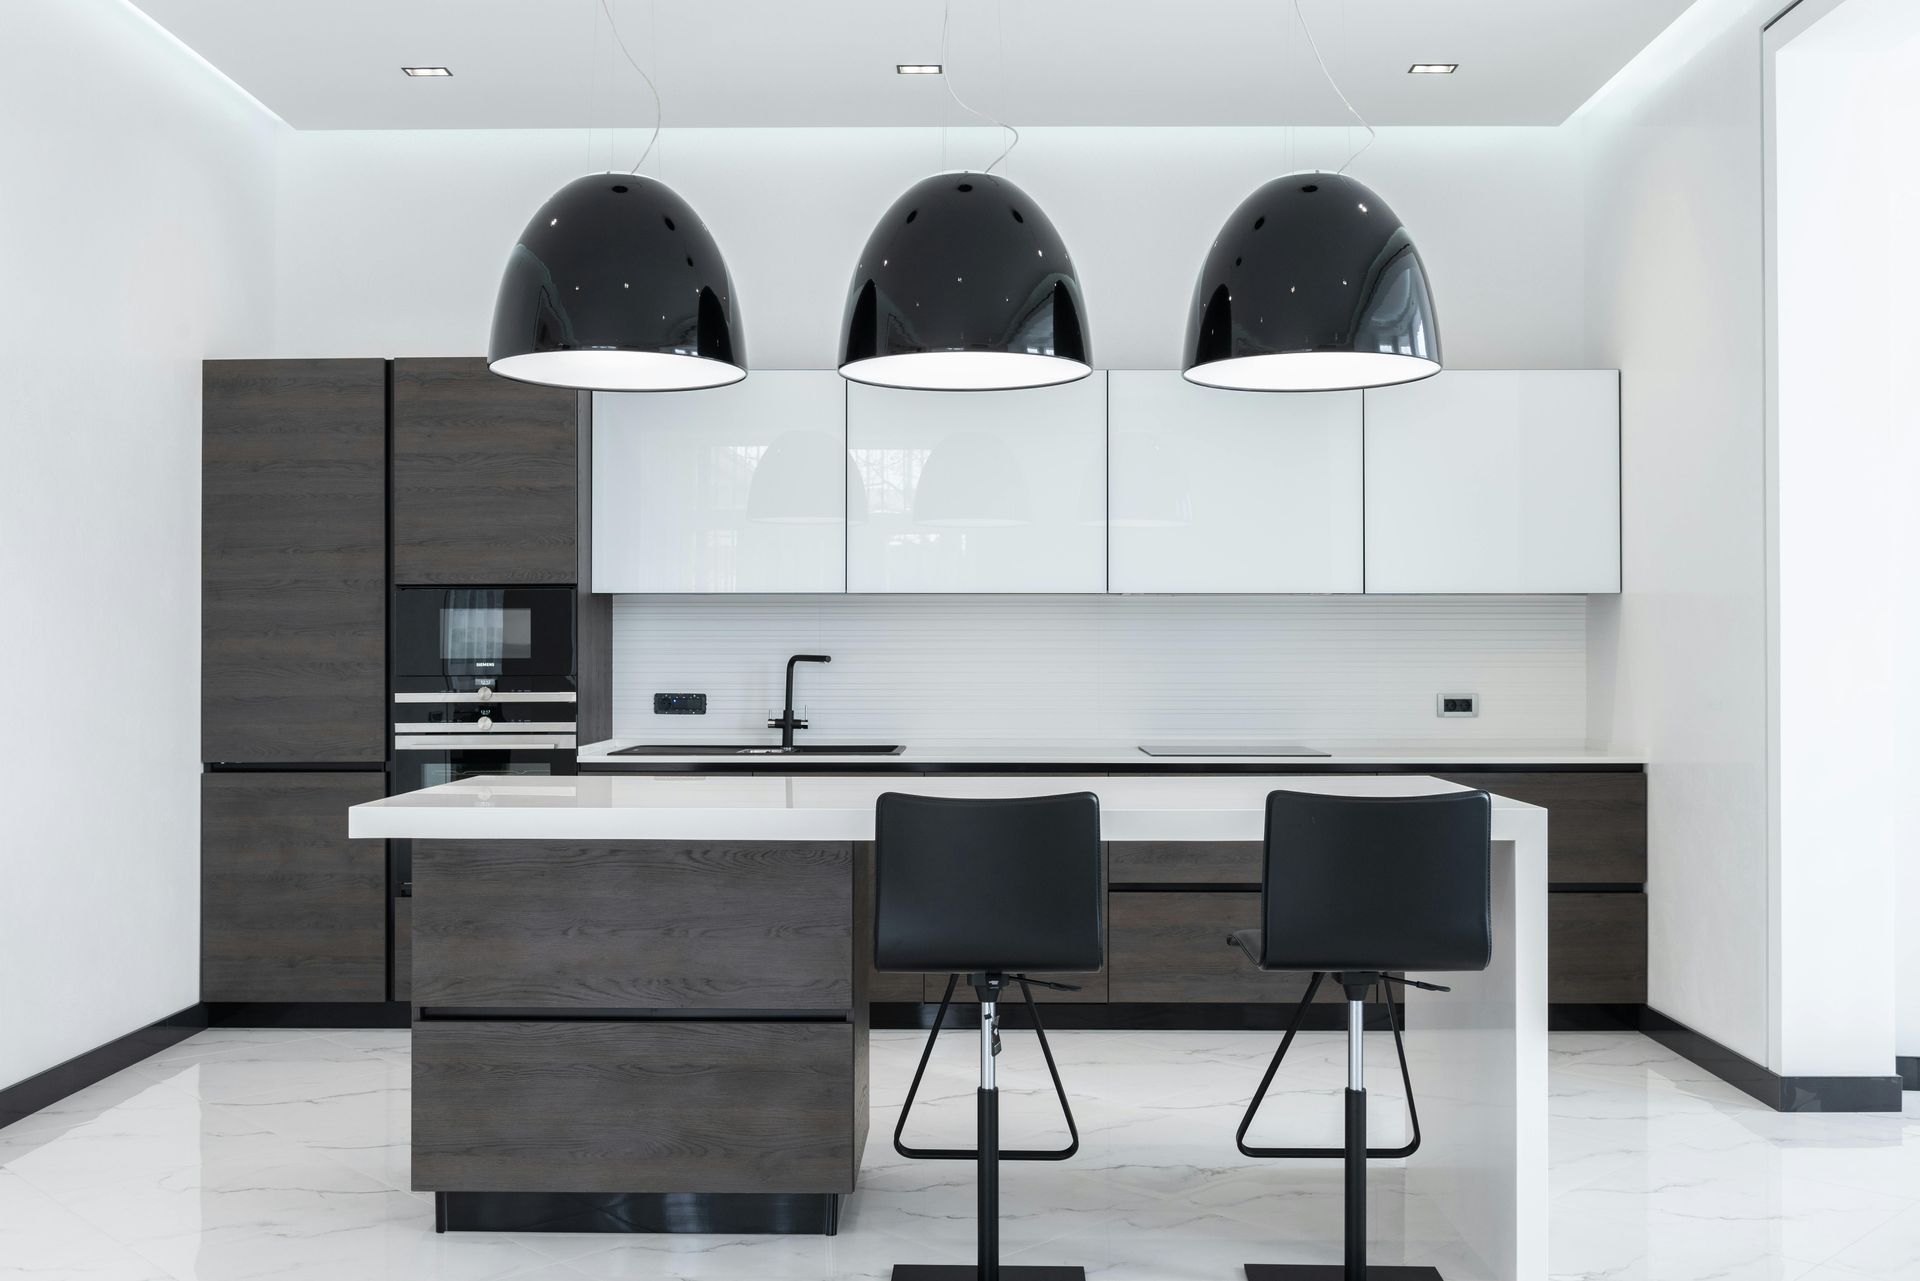
Your Complete Guide to Prepping Cabinets for Paint
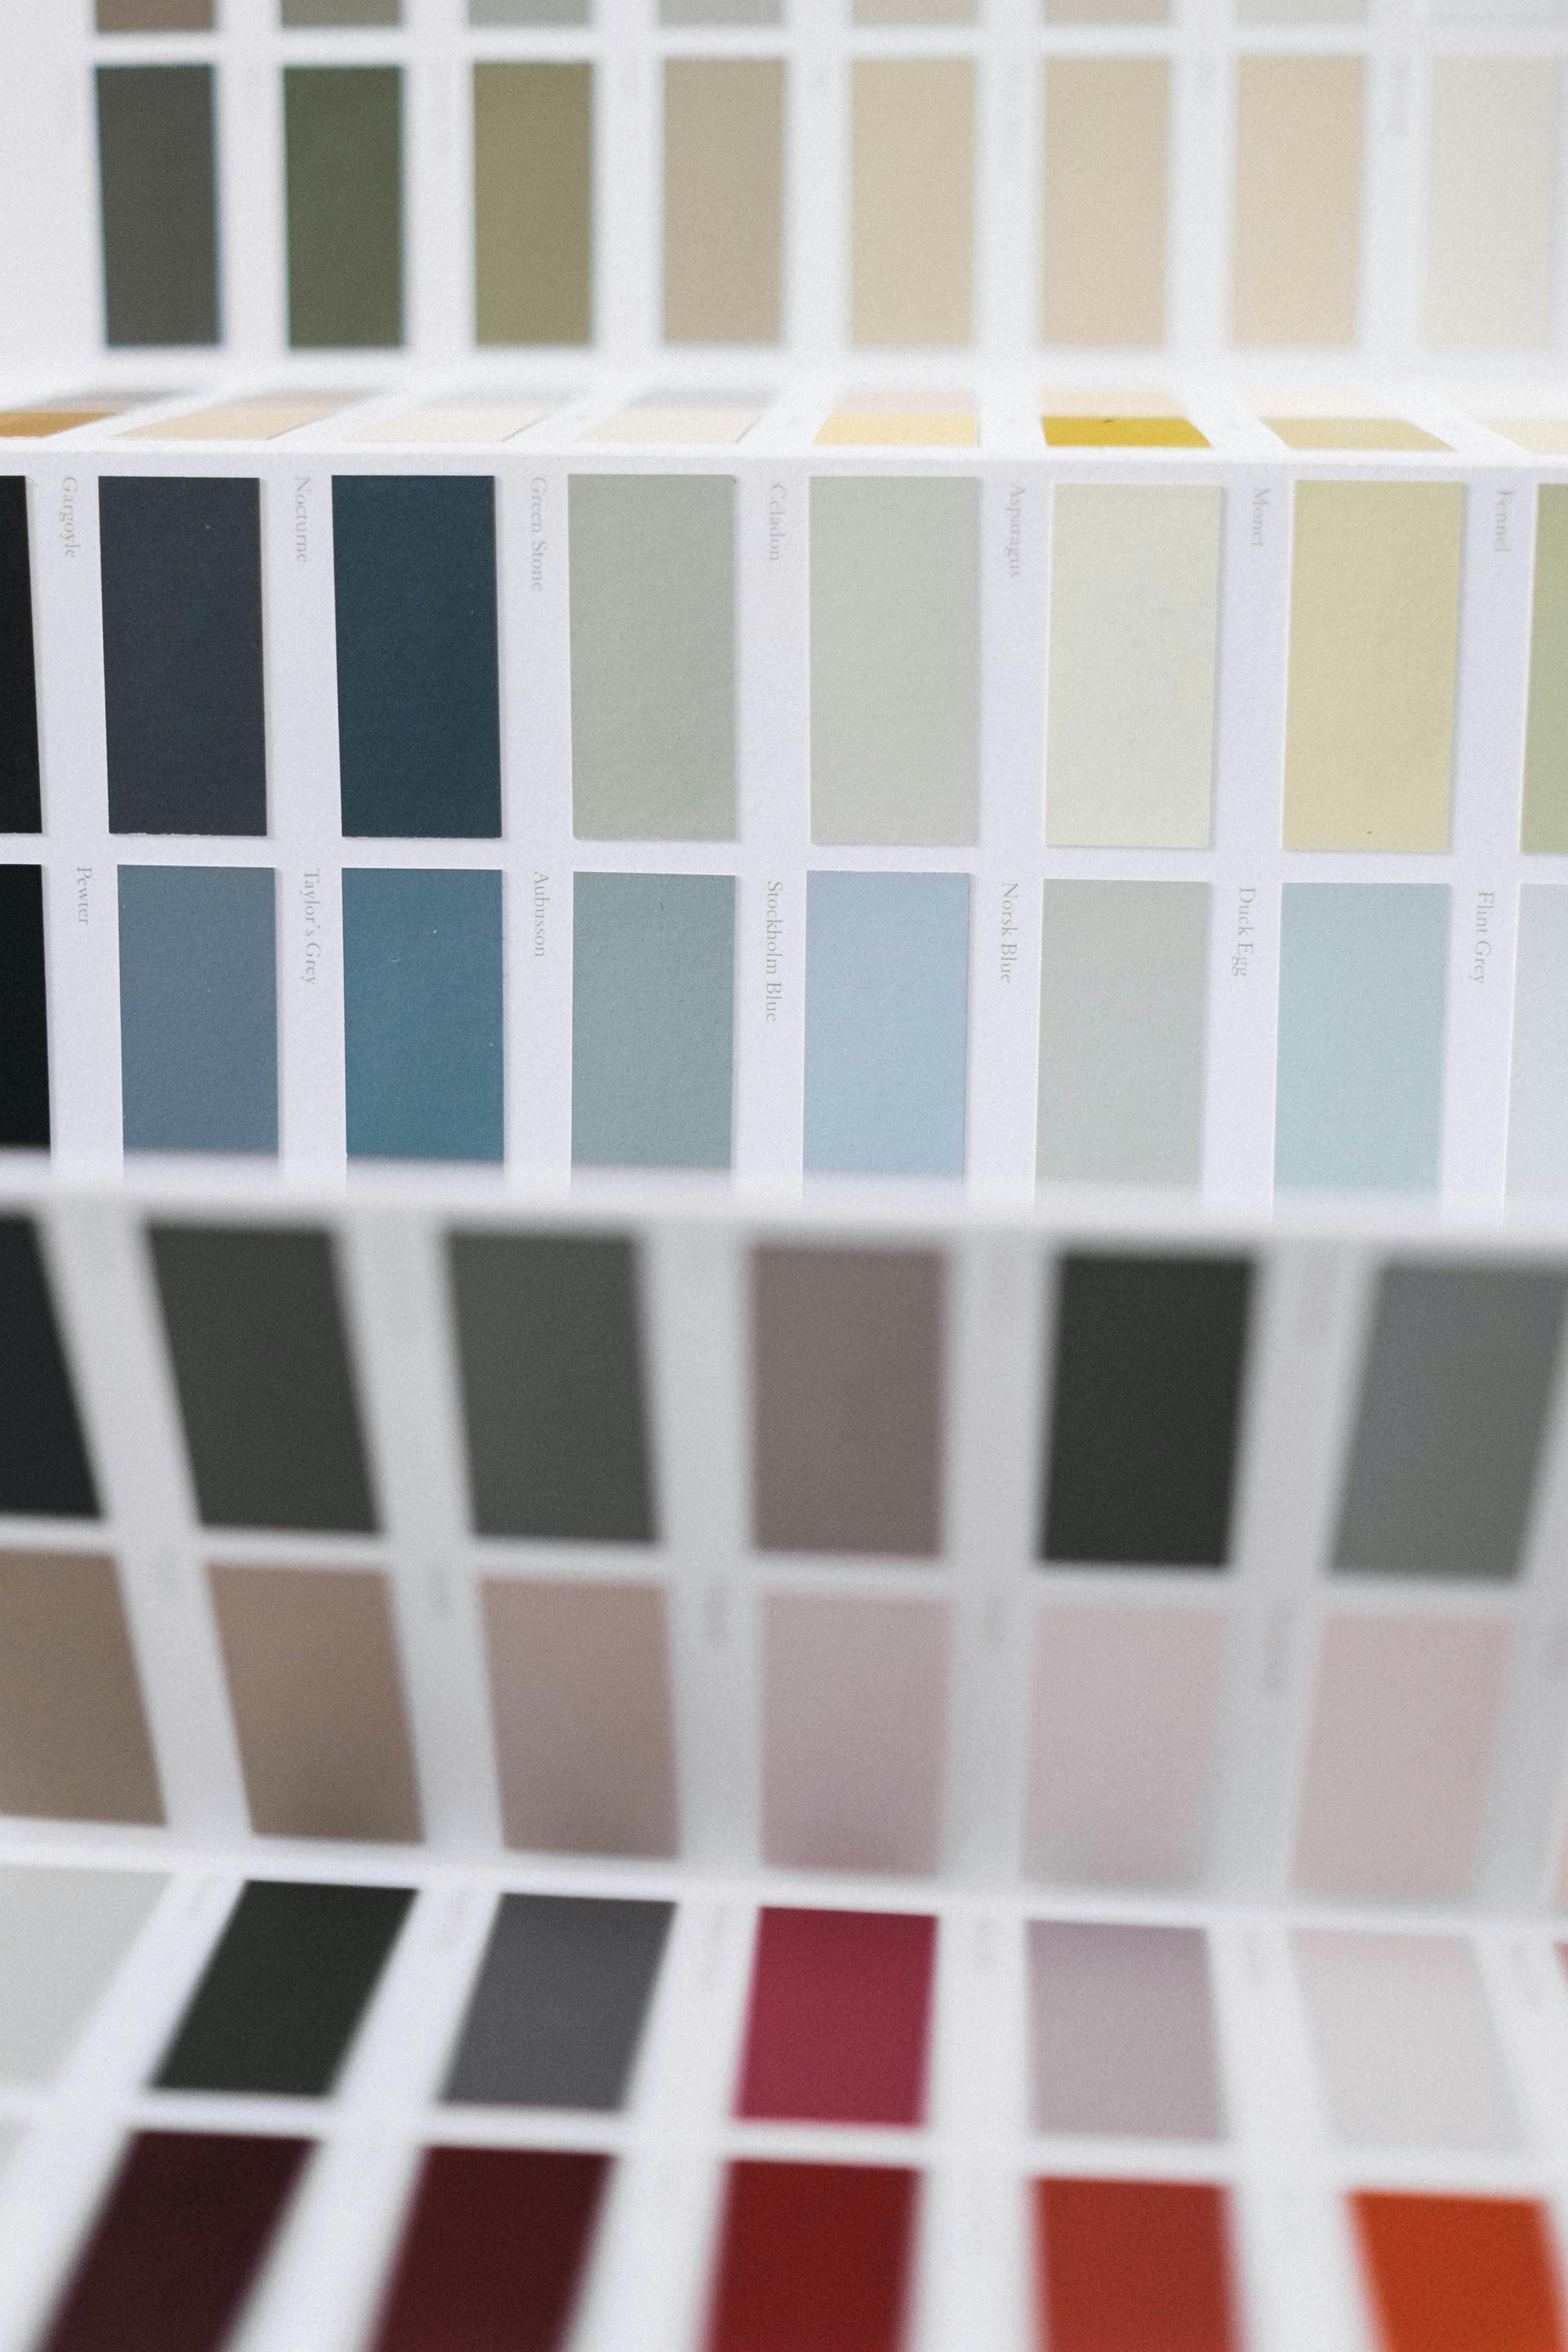
Are you getting ready to give your cabinets a makeover with a fresh new color ?
It’s great when you can bring in professional painters to really make them shine.
But there are some things you can do ahead of time to get those cabinets ready for them.
Plus, prepping cabinets for paint will ultimately lessen the time you’re kicked out of your own kitchen!
Prepping Cabinets for Paint Is Fairly Easy
But it can take some time.
This is especially true if there is existing paint on the cabinets. You’re going to need to get rid of it first. To save time, rather than excessive sanding, we recommend a chemical stripper.
Whatever the case, you’ll need to begin by removing the cabinets and drawers, and place them on saw horses with a drop cloth beneath.
Stripping
If you’re fortunate enough to have bare wood cabinets, you can skip this step and just go straight to cleaning.
If not, get ready to strap on the rubber gloves, put on some breathing protection, and arm yourself with a scraper.
Once you’re set up, dip a paintbrush into an open can of stripper and spread it on the doors, two at a time. Let it sit for at least 15 minutes before taking the scraper to the door.
Begin at the center of the door and using strokes that are parallel to the grain, work out from there. The old paint will have a gel like quality that you can just let drop to the floor.
Do the same thing with the fronts of the drawers.
Be sure to get the gelled paint out of any dips, scrapes or holes in the wood. You can do this using any tool or pointed stick that will get into those small spaces.
When you’re satisfied that the old paint has been removed, allow all of the cabinet surfaces to dry for at least an hour.
Cleaning
If you didn’t have to do a chemical strip, then your first step will be to de-grease and de-gloss those cabinets.
The greasy surface is no friend to paint and primer. They won’t bond to it. And while you can still paint on them, it’s much more likely to rub off as you clean them in the future.
Take to those surfaces with something like Tri-sodium phosphate (TSP) and a course scrubbing pad or sanding sponge. And get rid of the muck.
Sanding
Once the cabinets are stripped and cleaned, you’ll need to sand down the surfaces to prep them for the primer and paint.
Your best bet is a random orbit sander with 150 grit sanding discs. Steer clear of sandpaper that’s too coarse so that you don’t damage the wood.
Remove any sanding dust from the surface with a cloth or a vacuum, if needed.
Filling
This step may not be necessary. But if your cabinets are made from an open grain wood with cracks and small holes, they’re going to show through the paint.
You may be cool with that. Some people like that look. But if you’re going for a smoother appearance, fill those cracks and holes with grain filler. You just apply it with a brush, let it set for ten minutes, then buff it into the wood pores with a soft cloth.
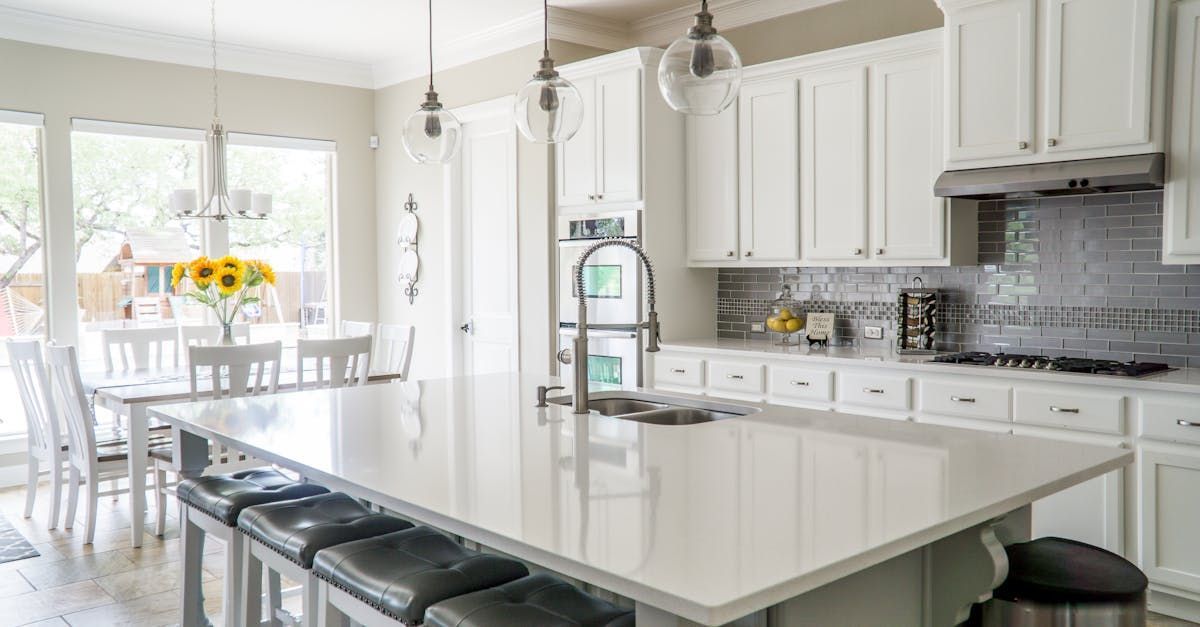
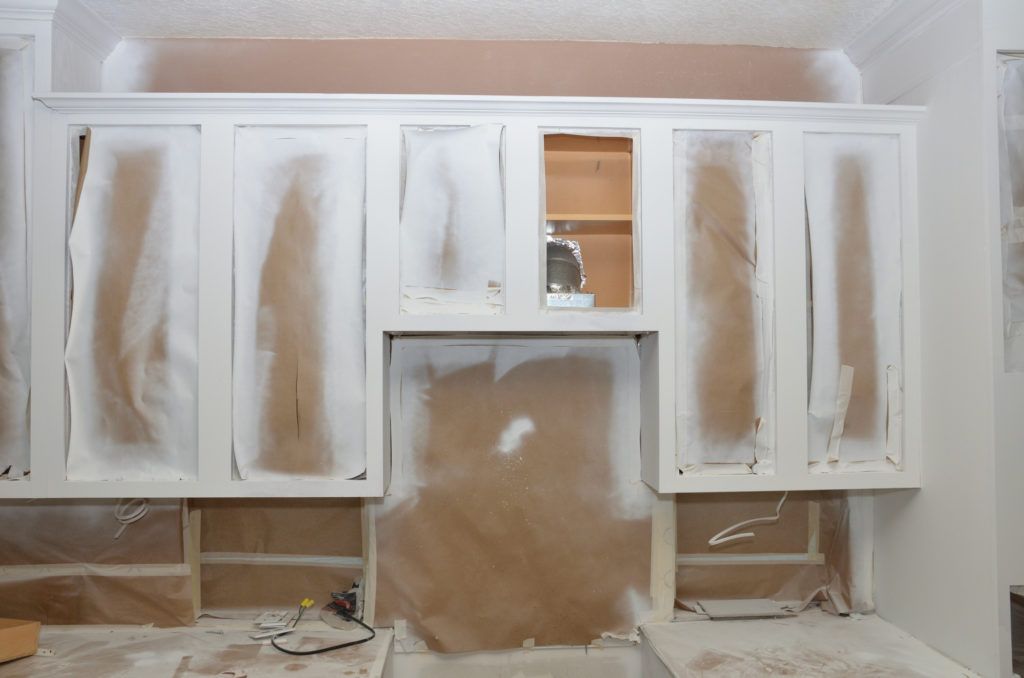
Your Cabinets Are Ready for Paint
When it comes to hiring professional painters, prepping cabinets for paint can save you money.
But if you don’t feel confident about doing it, don’t worry. We’re on it. So if you’re in the market for a cabinet makeover, contact us for a free estimate.
Whether you prep your cabinets or not, we’ll be there.