Celebrating over 30 years

How to Stain Wood the Right Way
While wood can be absolutely beautiful in its natural state, sometimes a little something extra is necessary. Maybe you have new wood floors that you want to take to the next level, or maybe you are refinishing a beautiful old piece of furniture. Adding stain to new or freshly sanded wood can change everything about how the piece looks. Not only will the stain change the color of the wood, but it will also highlight the amazing grain pattern that can be found in every piece of wood. While staining can be a little bit scary for the inexperienced craftsman, due to its permanent nature, it can really make a difference in your home. While the wide array of products used to stain wood might be a bit daunting at first, just keep in mind that all you are doing when staining a piece of wood is adding color. With the right preparation and equipment, anybody can learn how to stain wood.
How To Stain Wood
When you think of the word stain, the first thing that probably comes to mind is stains in your clothing. This makes sense, as a wood stain is meant to literally ‘stain’ the wood, changing its color and bringing out patterns. Keep this in mind when staining anything, and be sure to use drop cloths and other protective measures to keep the stain off of anything not meant to be stained. Once you have prepared your area, it’s time to move onto the real fun. There are only six simple steps that you need to follow in order to achieve the most beautiful stain possible.
- Sand Thoroughly
- Wet The Wood
- Use Fillers and Wood Conditioners as Needed
- Apply the Stain
- Remove Any Extra Stain
- Apply Sealant (Optional)
Below, you can follow these steps in much more detail!
Six Simple Steps to the Perfect Stain
1. Sand Thoroughly
Before you can do anything else, you need to sand any imperfections out of the wood, and create a smooth, level surface for the stain to soak into. If you are starting with brand new wood, start with an 80-grit sandpaper and then treat the piece as if you are refinishing it. When refinishing, start with 120-grit sandpaper. After the initial sanding, brush any dust off of your piece of wood. Sand with 180-grit sandpaper to remove any marks in the wood from earlier sanding, and then brush it all clean!
2. Wet The Wood
This step is meant to raise the grain of the wood. The stain will do this later, but sanding after staining will remove much of your stain. Wipe the wood with a damp cloth, let the wood dry, and then sand with 180-220 grit sandpaper and wipe clean!
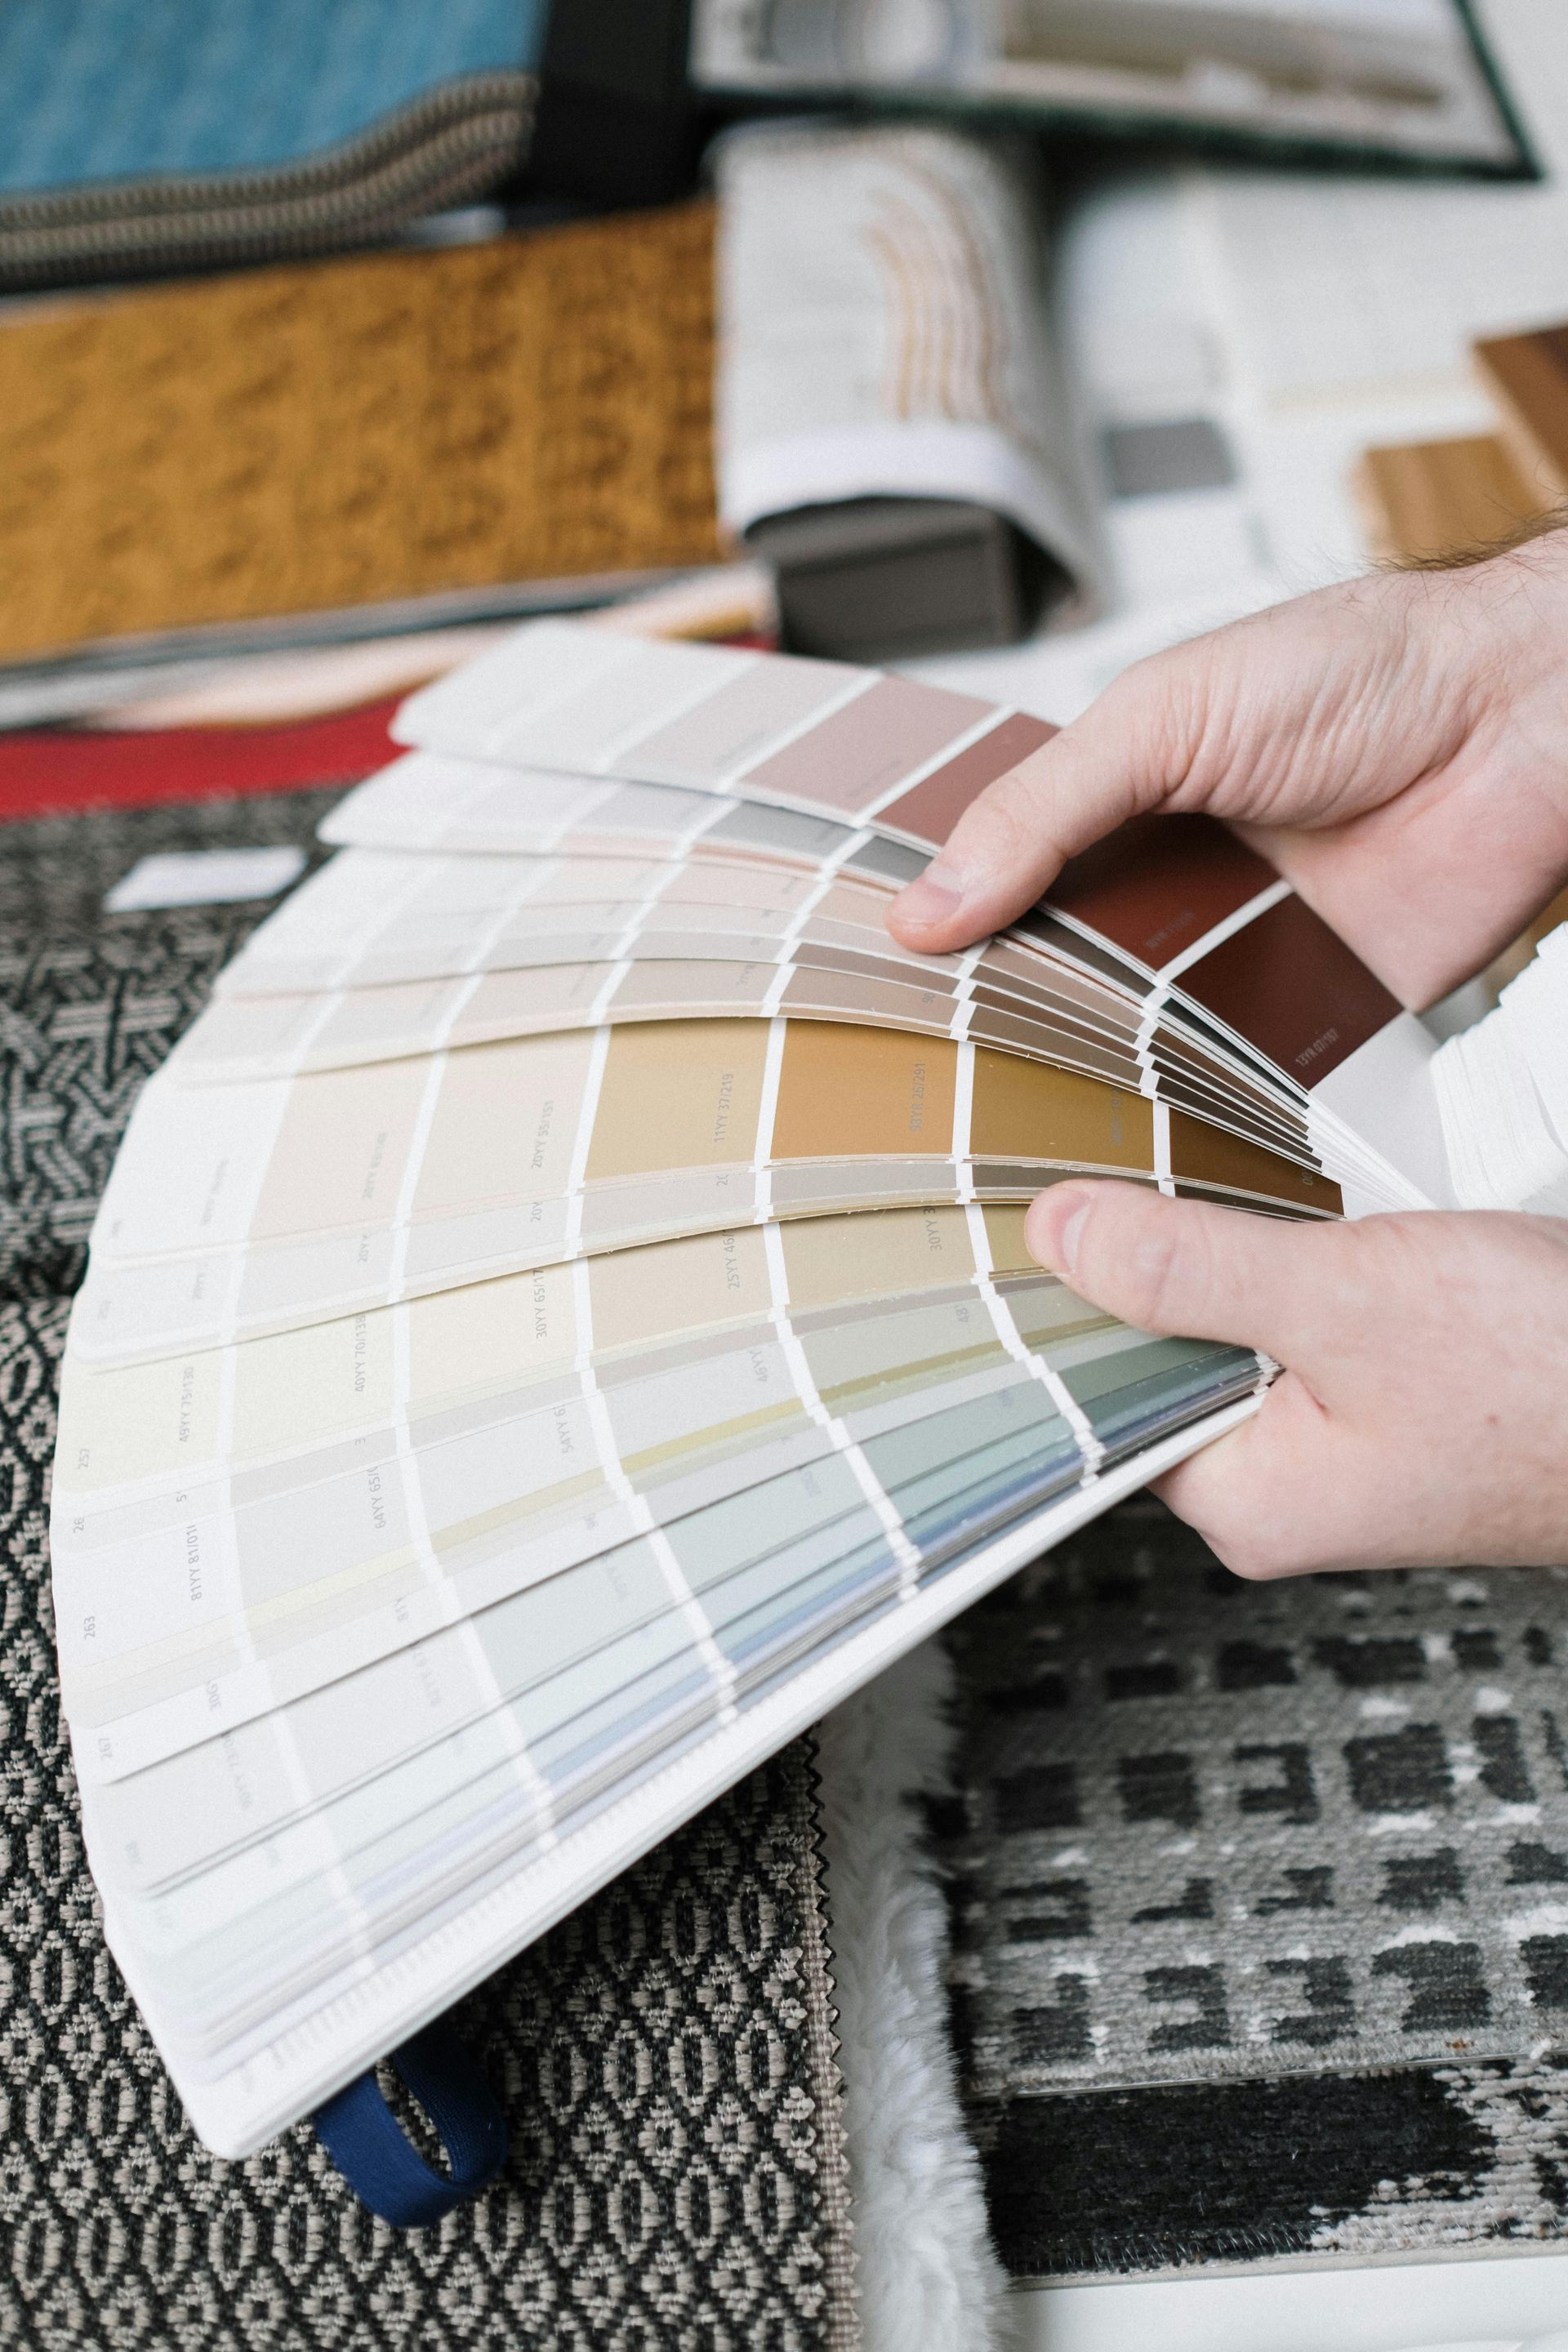
3. Use Fillers and Wood Conditioners
Certain woods, like pine and cherry tend to turn blotchy when stained. With these woods, you want to consider a wood conditioner to seal the wood and prevent any uneven stain absorption in the next step! Other woods, like mahogany and oak have what’s known as an ‘open grain structure’ and may require filling to achieve a perfect smooth finish. Choose a product that matches your wood or stain color and follow the instructions on the product.
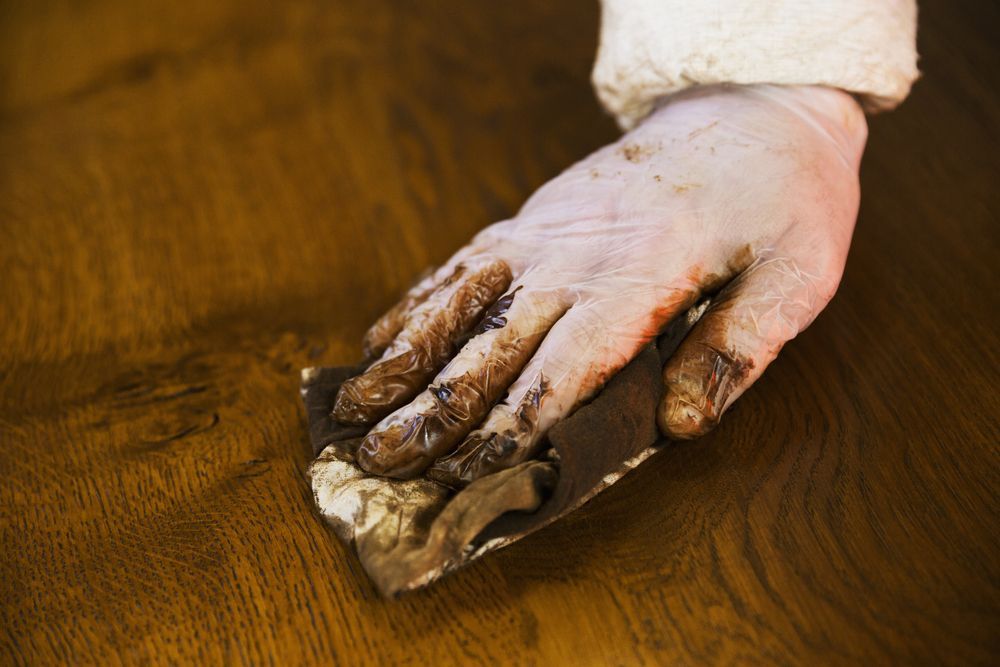
4. Apply the Stain
Finally, it’s time to apply the stain! Before beginning, be sure to thoroughly stir your stain to avoid any settling in the can. When applying the stain, be sure to use a wet (but not dripping) rag or cloth to apply the stain. You also want to use a scrap piece of wood to test your stain before staining your main piece. If you are happy with your test, it’s time to apply the stain. Be sure to use plenty of stain, but apply it in thin layers. You don’t want to apply too much at once and have a darker color than expected. Once again, be sure to follow the manufacturer’s instructions on your stain.
5. Remove Any Extra Stain
This step is pretty simple. You just want to use a cleaning wipe to remove any excess stain. Be sure to wipe with the grain, and do this immediately after staining the wood. If the stain sits on the wood for too long, it will be tough to remove.
6. Apply Sealant (Optional)
This step is totally optional, but a sealant will protect your piece from both scratches, and fading over time. Follow the instructions on the sealant you decide to use, and be sure to allow it to dry for at least a day.
That’s It! Now You Know How to Stain Wood
If you follow the simple steps outlined in this article, you will be well on your way to incredible furniture and flooring. Below, there are a few different product links that you can follow to get you started. Be sure to share this with any fellow DIYers so they can learn how to stain wood too!
Products:
5. Sealant


FITZPATRICK PAINTING & CONSTRUCTION
IS CELEBRATING OVER 30 YEARS IN BUSINESS!
By using our website, you consent to our Cookie Policy, Privacy Policy, and Terms Of Service / Use.
All content Copyright © 2025 Fitzpatrick Painting & Construction Inc. Website by smallbee.com