Blog Layout

How to Remove Mildew by Pressure Washing

March 24, 2017

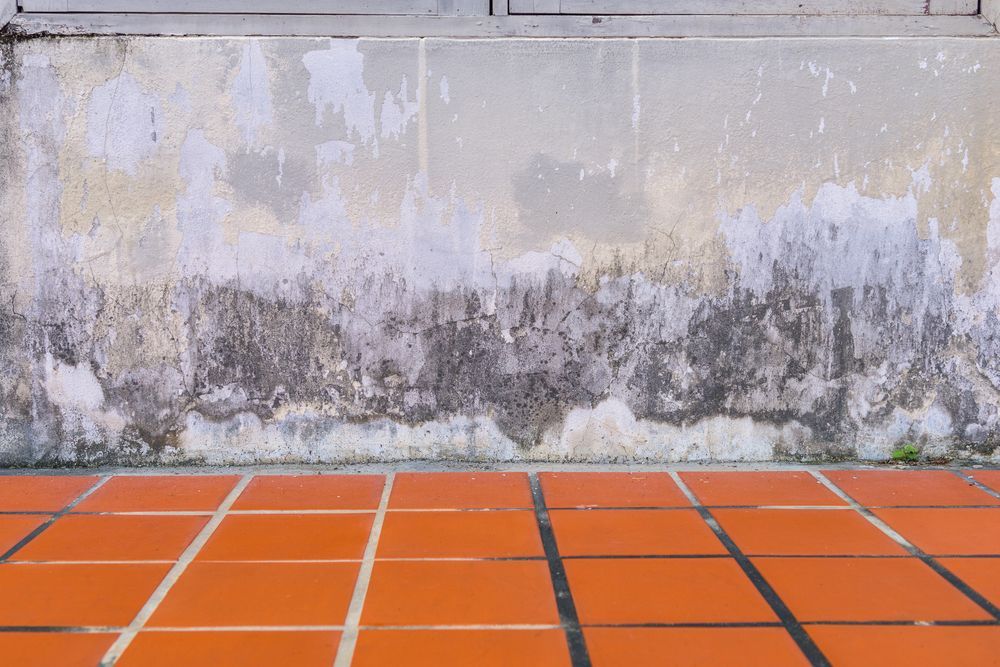
When small black spots start to appear on tile and walls, you know you have a problem: mildew. This stubborn fungus that loves to colonize dark and damp places can cause serious damage to your home.

As the fungus expands and gets thicker, it manages to make its way underneath the shingles, for example. Sooner than you expect, the wood will rot, causing your roof to leak. Fixing a leak in the roof will be an unnecessary expense that could have been avoided if you had not allowed the mildew to grow. Not to mention the fact that inhaling these microscopic spores is bad for your health.  

With that said, it should be obvious that keeping an eye for mildew and promptly removing it is the best way to deal with it. One of the best solutions to this problem is pressure washing.

Below you’ll find our guide for removing mildew with a pressure washer:

  1.      Pick the Right Pressure Washer

First things first, you need to ensure that you have the right tool for the job. Pressure washers are available in various sizes. Their power and performance are measured by watts. The higher the number of watts, the more water pressure the machine delivers.

Consider the size of the area you want to clean before buying a pressure washer. If you’ve only identified mildew in small areas around your home, then a 1500 watts pressure washer would do the job. But if the problem you are dealing with is serious, you will need a more powerful tool.

  1.       Dress Properly

It’s essential to wear the right clothes when using a pressure washer. It is mandatory to wear gloves and protective goggles. The chemical solution used to remove mildew can irritate the skin while the soap spray can get into your eyes. For your shoes, you should wear boots that are skid proof because the area will be very wet. Wear some old clothing that you wouldn’t mind throwing away after you are done.

  1.      Clean the Affected Area

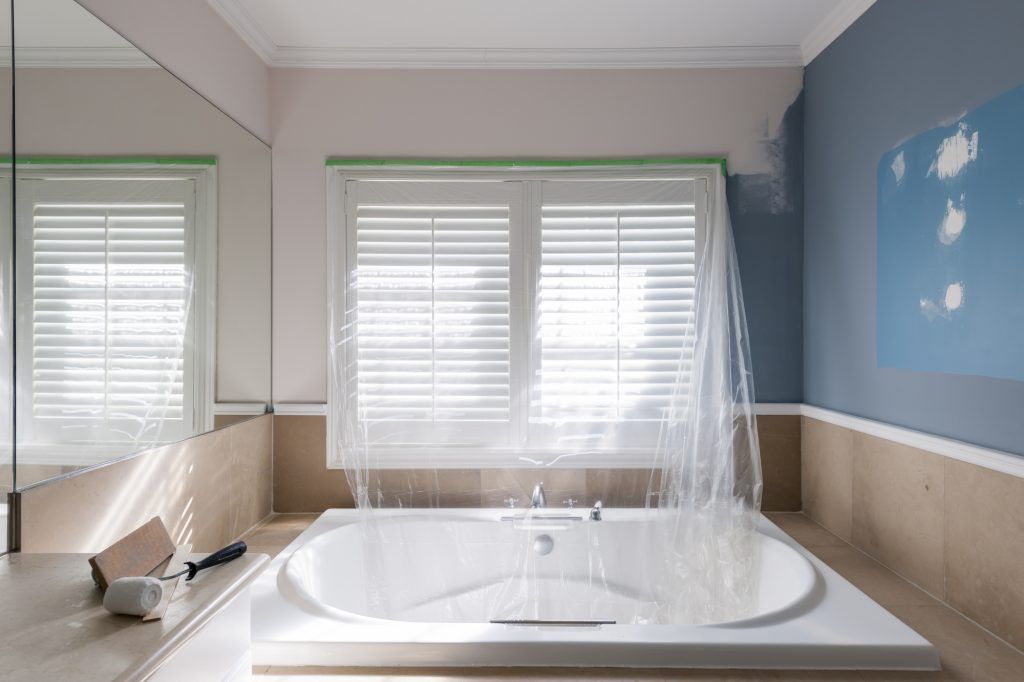
Remove any items that can be damaged in the process of washing. Take into consideration the fact that any glass window or fragile area can be damaged or even destroyed during the power washing.

  1.      Divide the Area into Sections

The best way to clean every single spot is to divide the area and clean one section at a time. That way, you will avoid any cleaning overlap.

  1.      Wash

It is recommended to use low pressure and a wide spray setting when you are applying the chemical cleaner. You must leave the solution on to work for up to 20 minutes. Meanwhile, use a scrub brush to ease the mildew away from areas that are badly affected. Apply water to surfaces that begin to dry.

  1.       Rinse

Use the pressure washer nozzle pointed at an angle to rinse both the detergent and the mildew. It is recommended to rinse each section thoroughly to prevent streaking. If there are any surfaces that you cannot reach with the regular nozzle, use the telescoping wand, which is specially made for hard-to-reach spots.

Washing away mildew with a high-powered cleaning solution is an excellent way to get rid of the problem, maybe even for good. However, the best method to get rid of mildew is simple: to not let it grow in the first place. Inspect your home carefully every season and look for any signs of mildew. Remove it before it gets a chance to expand and affect other areas.

If you are looking for professional help for removing mildew, don’t hesitate to contact us !

March 31, 2025
Discover how casino paint colors influence guest behavior, from excitement to relaxation, and boost spending with smart, strategic color choices.
March 17, 2025
Boost your home’s value with interior paint. Discover how the right colors and a professional finish can increase appeal and deliver a solid ROI.
February 28, 2025
Noticing strange streaks on your freshly painted walls? Learn what surfactant leaching is, why it happens, and how to fix it—especially in humid climates!
February 13, 2025
Thinking about painting your home’s foundation? Learn the benefits, potential pitfalls, and best practices to protect and enhance your home’s curb appeal.
January 30, 2025
Learn why using exterior paint indoors isn’t safe—and explore low-VOC interior options for a healthier, long-lasting paint finish for your Oregon home.
January 15, 2025
Discover if premium paint is worth the cost. Explore quality differences, real costs, and tips to choose the right paint—and get more from each coat.
December 30, 2024
Interested in what's trending for 2025 interior paint colors? We've got the rundown for you!
December 19, 2024
Painting senior living facilities with minimal disruption requires experience, especially when it coms to painting doors! Here are a few tips...
tips for painting healthcare facilities
November 28, 2024
Planning to repaint a healthcare facility in Willamette Valley? Here are a few practical tips to help you make the very most of the process!
November 15, 2024
Planning an interior repaint in your senior living facility? We have a few tips for you to help maximize mood and wellness with the right colors.
October 31, 2024
Creating a welcoming, clean, and safe environment is central to maintaining healthcare and retirement homes in the Willamette Valley. These spaces are more than buildings; they’re where residents and patients find care and comfort. So, every detail in the physical environment, from the lighting to the layout, should reflect your commitment to their well-being. One key yet often overlooked detail? Interior painting. When done thoughtfully, it goes far beyond aesthetics—it shapes the atmosphere, reinforces safety, and contributes to a sense of care that’s felt by everyone who walks through the door. Understanding the Needs of Healthcare and Retirement Homes It goes without saying: healthcare and retirement facilities have unique painting needs that go beyond aesthetics. High-traffic areas experience regular wear and tear, and frequent cleaning can cause paint to degrade faster than in typical environments. Additionally, maintaining a sanitary and safe environment is paramount. This is why painting should not only be about beautification but also about durability and hygiene. Seasonal painting schedules allow healthcare and retirement homes to address their most critical areas—like hallways, communal spaces, and entryways—at the right time, ensuring minimal disruption and maximum effectiveness. Seasonal Painting Considerations It’s all about having a predictable maintenance plan, simplifying your to-do list and keeping your facility looking its best throughout the year. 1. Spring/Summer: Refreshing the Exterior and Common Areas Spring and summer are ideal seasons for tackling exterior painting projects. The mild weather conditions mean paint will dry faster, and there’s less risk of moisture interfering with the application. Also consider brightening up communal spaces, such as dining areas and lounges. This can lift spirits and provide a fresh, inviting atmosphere. Seasonal colors like pastels or light neutrals can help create a calm and pleasant environment for residents. Summer into early fall is an ideal time for exterior painting too. The lower chances of rain and consistent temps allow for larger projects to be completed faster and with less interference from the weather. 2. Fall/Winter: Focus on Interior Updates The cooler months are ideal for tackling interior projects. During fall and winter, healthcare and retirement homes often operate at a more predictable pace, making it a good time to schedule interior painting updates without significantly disrupting daily routines. Winter is a great time to refresh patient rooms, hallways, and bathrooms with more durable finishes that can withstand regular cleaning.
October 17, 2024
Ready to paint your healthcare facility? This is a huge opportunity! Here's a quick guide to choosing the right paint products and approach for your needs...
More Posts
Share by: